
Making payments
1 May 2023
Register to receive PayShap payments
Simply link your cellphone number to your bank account to receive PayShap payments within minutes.
Step 1 of 13
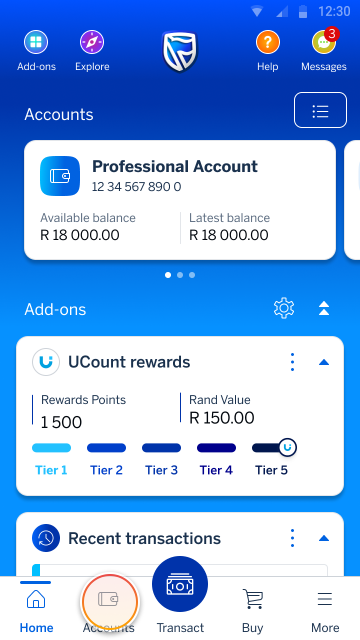
Go to your home screen and tap Accounts (on the bottom navigation).
Step 2 of 13
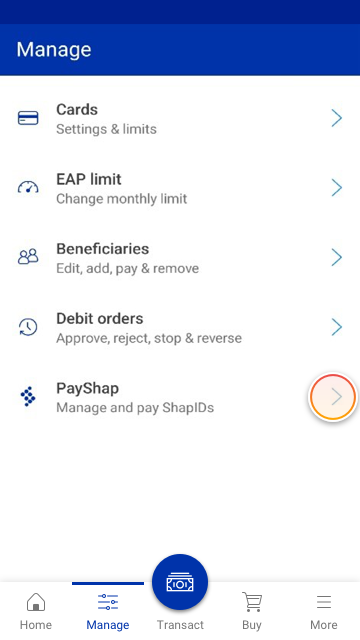
Scroll down and tap PayShap.
Step 3 of 13
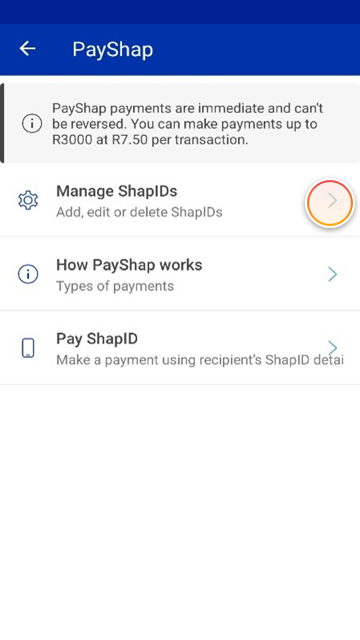
On the PayShap screen, select the Manage ShapIDs menu option.
Step 4 of 13
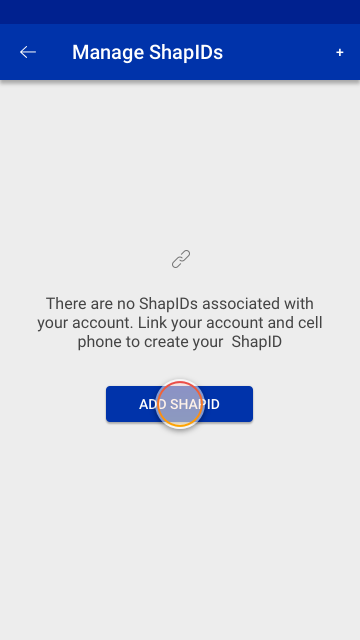
To get started, you need to register your ShapID to receive PayShap payments!
Select ADD SHAPID on the Manage ShapIDs screen.
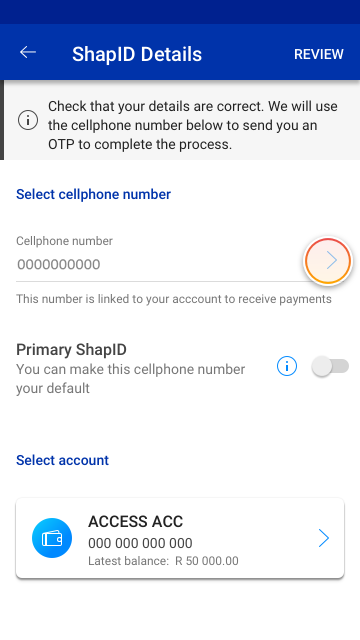
Step 5 of 13
Firstly, you need to register your cellphone number as your ShapID.
If you have more than one cellphone number linked to your banking profile, you will need to select your preferred cellphone number.
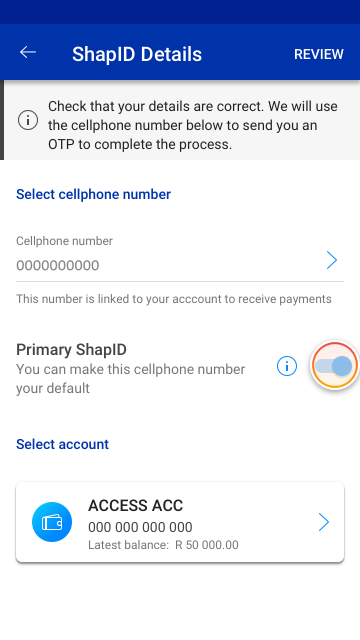
Step 6 of 13
Toggle on the Primary ShapID option to register your Standard Bank account the preferred account for your cell phone number. Then you only have to provide your cellphone number to receive PayShap payments.
If this option is not selected, you will have to provide your cellphone number and bank name to receive payments.
Step 7 of 13
If you have more than one bank account linked to your profile, then you will have to select your preferred bank account that must be linked to your ShapID, as your selected account.
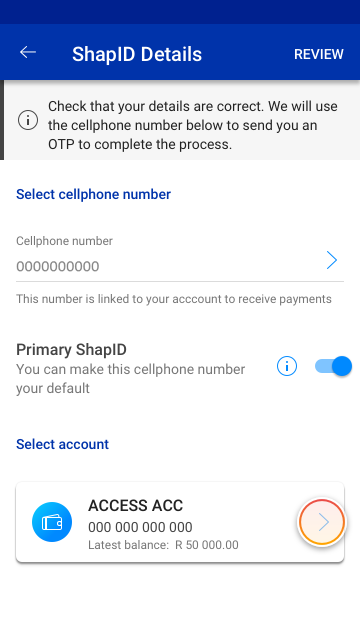
Step 8 of 13
When you are ready, select REVIEW (on the top navigation).
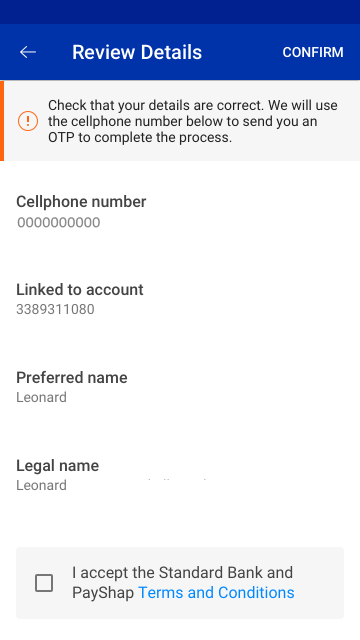
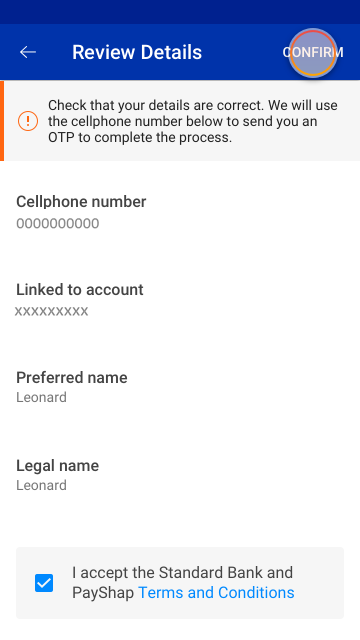
Step 9 of 13
Now review your details:
- the cellphone number you are going to register as your ShapID
- your linked account
Hint: use the back button (on the top navigation) to go back and amend your ShapID details.
Step 10 of 13
Tap on the Terms and Conditions (T&Cs) link to view the PayShap terms and conditions.
Then select the I accept the Standard Bank and ShapID Terms and Conditions tick-box to accept the terms and conditions of using ShapID.
When your ready, select CONFIRM to submit your ShapID details.
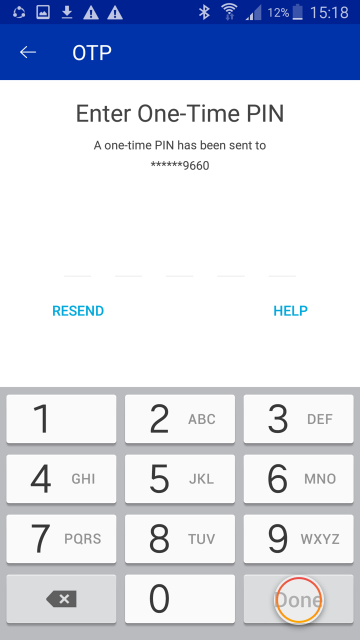
Step 11 of 13
Finally, enter the 5 digit one time pin (OTP) which will be sent to your selected cellphone number for your ShapID, to confirm your PayShap registration.
Then select DONE.
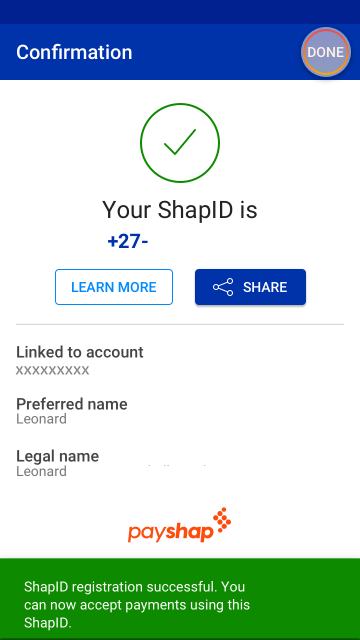
Step 12 of 13
All done! You have successfully registered your PayShap Id.
With your cellphone number linked to your account number, you can now receive payments within minutes 24/7 ~ simply SHARE your ShapID!
Let’s select DONE to return to the Manage ShapIDs screen.
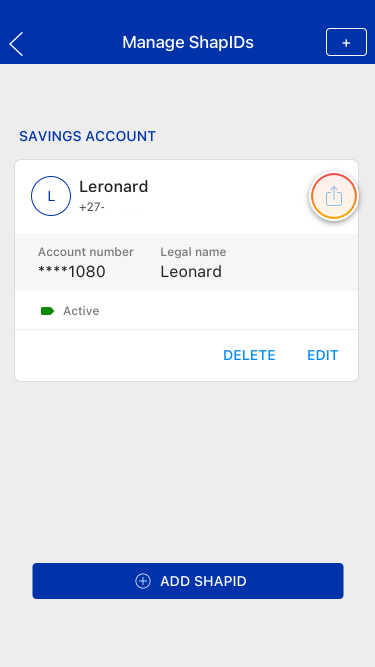
Step 13 of 13
Your registered ShapID will now be displayed on the Manage ShapIDs screen.
Whenever you want receive a quick & secure payment from someone, simply share your PayShap ID.
More things you can do on the app

Making payments
1 May 2023
Make quick and secure payments with PayShap
Need to pay someone fast? Make a digital payment using their PayShap ID.

Making payments
30 Mar 2020
Send Instant Money to someone
Learn how to send an Instant Money voucher to someone

Making payments
2 Mar 2020
Receive a payment via QR code
Request a payment from somebody nearby who also uses the Standard Bank App, using a QR code.